Wet Room Conversion Coventry
On many occasions we have home owners that contact us with a bathroom wish list which includes fitting the bathroom as a wet room. In many homes a wet room is neither economically plausible nor necessary. A well designed shower room will offer most of the function and other benefits over a wet room.
Converting the bathroom to a shower room is much easier than converting it to a wet room. The waste water from the shower is a problem that needs to be resolved. If the shower is set above the ground by between 3 – 4 inchs (7cm – 10cm) it will then be easy and quick to fit the waste water pipe from the shower to the outside drain. However if the shower is to be at floor height, the waste water will need to run below ground level with the waste pipe having to be cut into the wall under ground level and into the exterior drains. I am sure you can visualize how this would add problems and work to the conversion.
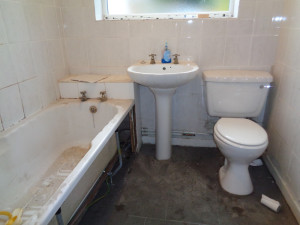
This house has a downstairs bathroom, the waste pipe from the bath runs to the outside of the building and into an outside drain which is set at ground height. After explaining the added work that would need to be undertaken to make the bathroom a wet room, the client agreed to a shower room.
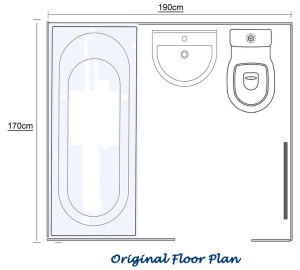
This is the original floor plan which shows a traditional bathroom layout.
Creating More Usable Floor Space
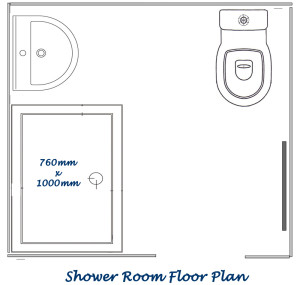
The new shower room floor plan includes a shower 100cm long and 76cm wide. This leaves a sapce between the end of the shower and the window wall which allows for the repositioning of the basin. This opens up more of the floor creating more usable space within the shower room.
The Correct Steps To Convert a Bathroom to a Shower Room
The Correct Steps To Convert a Bathroom to a Shower Room.
The public are misinformed by DIY TV programs about the protocols that need to be carried out to correctly refit a bathroom. The TV shows suggest tiling on top of existing wall tiles.
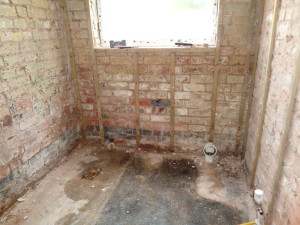
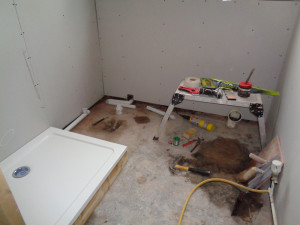
We strongly suggest that you never tile over tiles. The correct steps are first to remove the bathroom suite and tiles. If the plaster or wall bonding falls away with the tiles as it did in this bathroom, remove the remaining plaster from the walls as shown in the image below
Next the walls should be made flat. An easy cost effective way of achieving this is by plaster boarding the walls, this is a suitable flat surface to tile onto, please note you do not have to plaster the boards. The image below shower the shower tray fitted in place, it has been fitted against the plaster board and silicon sealed to create the first seal. This is an important step that must be carried out before the tiling.
Tiling the Walls and Floor
The floor tiles should run under the wall tiles, this can be achieved in one of two ways,
- First tile the floor then the walls – or
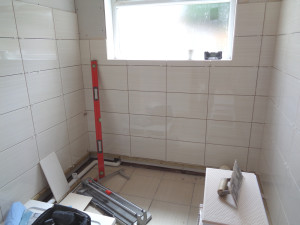
- Tile the walls but leave the bottom row, tile the floor, the tile the bottom row.
This is the method we under took with this shower room as you can see from the image below
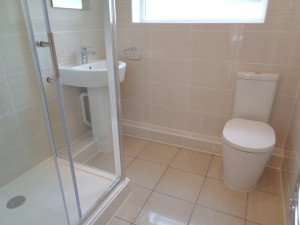
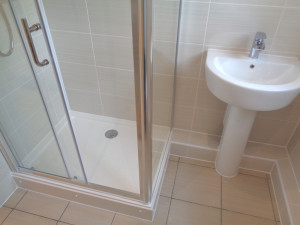
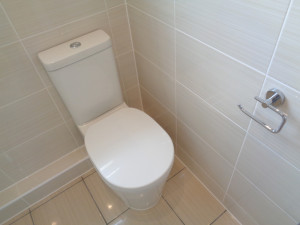
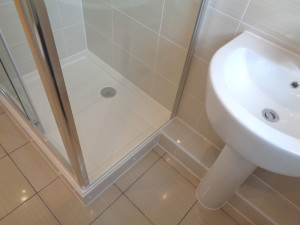
The Completed Shower Room
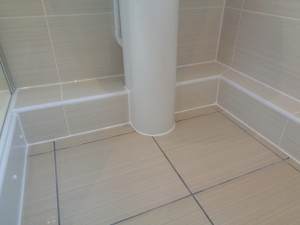
The images below shower how we hide any water pipes and waste pipes.
Video of the work Carried out on this Shower Room
 Tagged with: Beige Bathroom Tiles


